
Have you heard about CPS cookies? Imagine whipping up a batch of cookies at lightning speed, the kind that makes your friends ask, “”How did you bake these so fast?”” Today, you’ll discover a delightful CPS cookies recipe that’s perfect for inviting a touch of magic into your busy life. Whether you need a quick treat or easy lunch recipes for work, these cookies are your newfound secret weapon!
Table of Contents
Quick Overview
Get ready to be enchanted by a mouth-watering cookie recipe that’s simple, fast, and oh so magical. A fast recipe for lunch breaks or a sweet nibble, these cookies come together quicker than you can click! Let’s dive into the magic and see what makes these CPS cookies a quick, crave-worthy indulgence.
Key Ingredients for CPS Cookies
- Flour: Forms the sturdy base that holds the spell together.
- Sugar: Adds the sweetness that enchants every bite.
- Butter: Gives the cookies a rich flavor and ideal texture.
- Special ingredients: Our magical twist includes a sprinkle of quick-melting chocolate and a dash of cinnamon to ensure these cookies truly click!

Step-by-Step Instructions
Step 1: Prep & Preheat
Begin by arranging your baking tools and preheating the oven to a warm 350°F (175°C). Grab your spellbook, also known as a recipe card, and let’s get to it!
Step 2: Mix the Dry Ingredients
In a large bowl, whisk together the flour, baking powder, and a pinch of magic – I mean salt! Ensuring these are well-blended is key to cookie success.
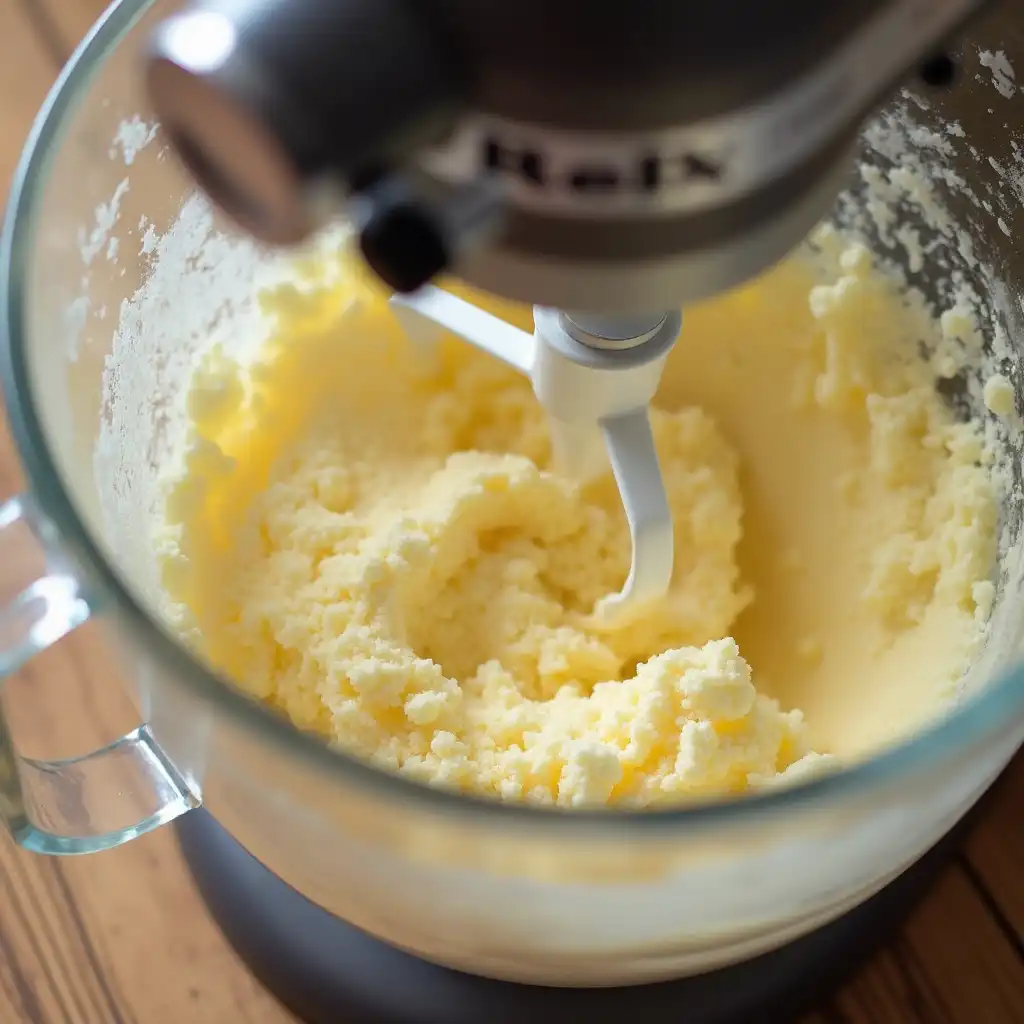
Step 3: Cream the Butter and Sugar
Now for the fun part! Whip the butter and sugar until they’re as light and fluffy as a cloud. This is the secret to getting that irresistible, melt-in-your-mouth texture.
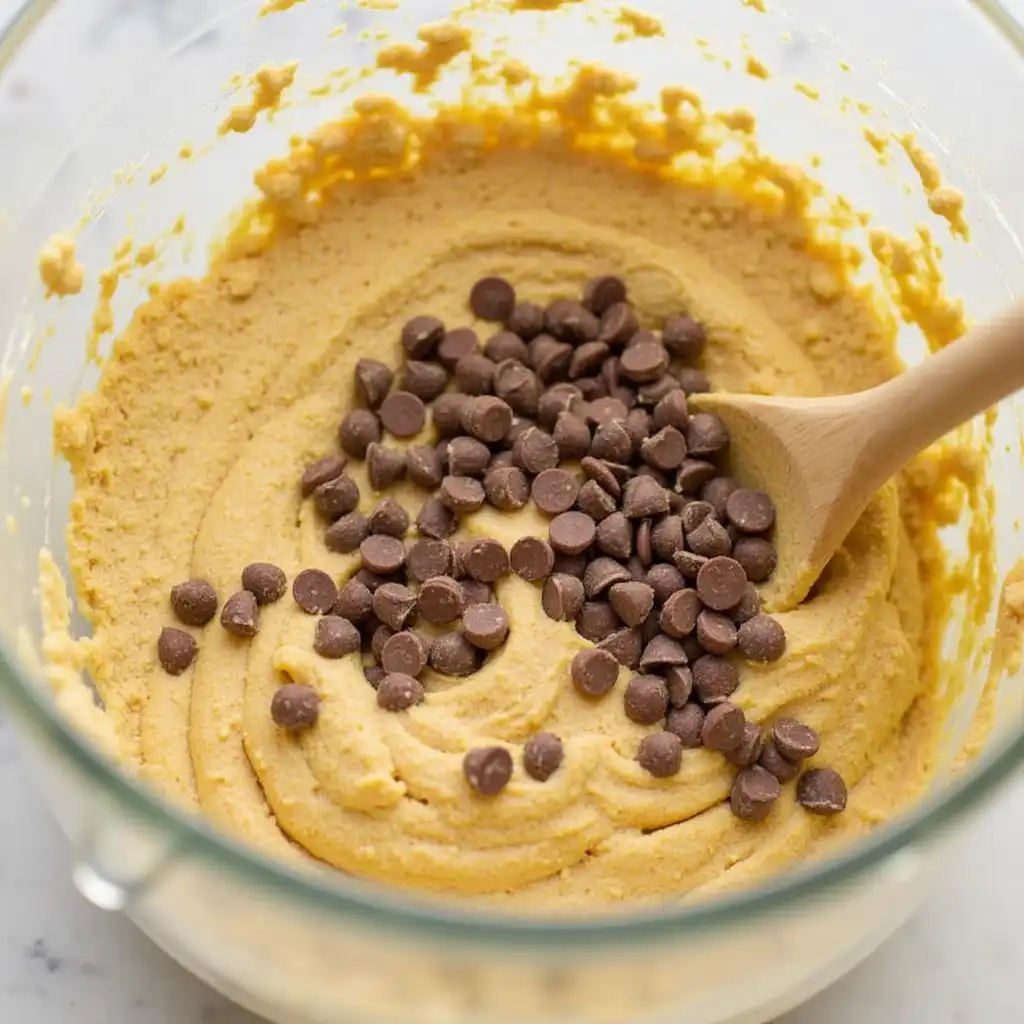
Step 4: Combine and Stir Magic into the Mix
Slowly mix the dry ingredients into the butter mixture. Once they’re getting to know each other, throw in the chocolate chips and a whisper of cinnamon. That’s your cookie charm!
Step 5: Scoop & Space the Cookies
Using a spoon or a cookie scoop, drop evenly sized pieces of dough onto your baking sheets. Remember, cookies need personal space to spread their wings – or edges!
Step 6: The Baking Session
Send your cookies into the oven for a quick spell, around 10-12 minutes or until they’re golden brown. The scent alone is pure enchantment!
Step 7: Cool Down and Serve
Once they’ve had their time in the oven, let them cool on a wire rack before you cast them out for serving. And just like that, you’ve baked CPS magic into every bite!
Variations for Easy Lunch Recipes
Transform your CPS cookies into a lunchtime treat! Pack along a couple with a side of fruit or yogurt for a balanced, easy lunch recipe to enjoy at work. Or sandwich a scoop of ice cream between two cookies for an extra spellbinding experience.
Nutritional Information & Allergy Advice
For those keeping an eye on their enchantments – or calories – each cookie comes with its share of sugars and fats, so enjoy them as a treat within a balanced diet. If you’re waving your wand to avoid allergens, try substituting the flour for a gluten-free blend and opt for allergy-friendly chocolate chips.
And there you have it – the cps cookies recipe that brings a touch of magic to your everyday life! Don’t forget to share these treats and sprinkle a little joy wherever you go.
Join the cookie coven and share your baking sorcery! Post your photos, send us your thoughts, and suggest what kind of culinary wizardry you’d like to see next. Together, let’s create a world brimming with flavor and enchantment. Happy baking!