Welcome to the delightful world of cake pops at home, the Starbucks copycat edition! If you’ve ever savored the petite and easy dessert treat that is a Starbucks cake pop, you know just how irresistibly good they are. But imagine making them in your very own kitchen, infusing them with personal touches and flavors unique to your tastes. In this friendly guide, I’ll walk you through the process of creating the perfect homemade Starbucks-style cake pops.
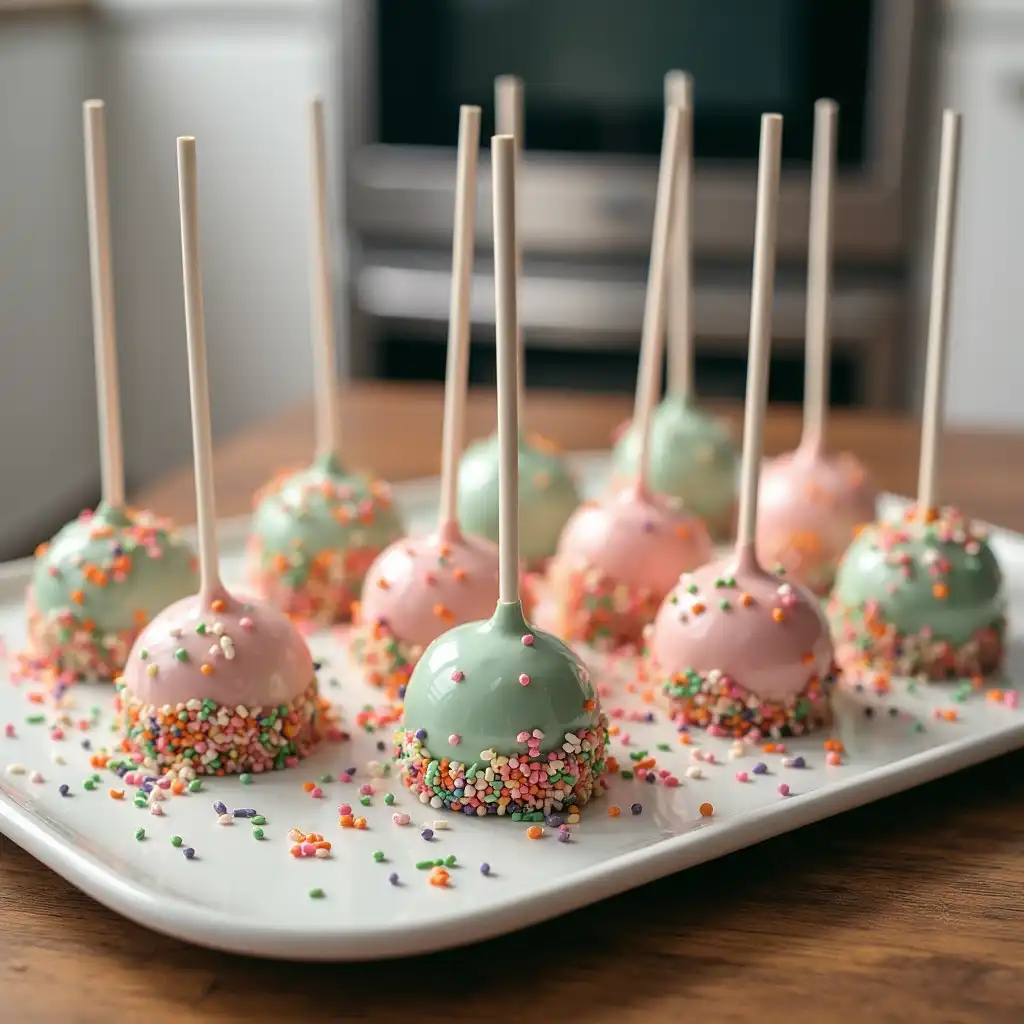
Table of Contents
Quick Overview:
These vanilla treats are a straightforward and enjoyable addition to any home baker’s repertoire. From start to finish, the whole process will take a couple of hours—a small investment for such a sweet reward. Plus, it’s the perfect chance to gather the family for a round of fun kitchen collaboration!
Key Ingredients for Your Starbucks Cake Pop Recipe:
- Your favorite cake mix (vanilla or chocolate work wonders)
- Pre-made icing or homemade frosting
- Candy melts for that smooth, enticing coating
- Colorful sprinkles or decorations of your choice
Finding high-quality ingredients is essential for the best results. Should you need to accommodate dietary preferences, gluten-free cake mixes and vegan icing options are great substitutes.

Tools and Equipment:
While a cake pop maker or molds can come in handy, you can also shape your treats by hand or use an ice cream scoop for consistency—no special equipment required!
Tips for Crafting the Perfect Cake Pop:
1. Creating the Perfect Cake Base:
A moist cake is your starting point. Once baked, let it cool completely—even refrigerate if needed—before moving on to crumbling. This patience pays off by ensuring your cake pops are never too crumbly or dry.
2. The Ideal Frosting Consistency:
It’s all about balance. Combine your cake crumbs with just enough frosting to form a pliable mixture, not too wet or dry—it should hold shape easily without oozing frosting.
3. Shaping Your Cake Pops:
Rolled evenly, each pop will not only look professional but also ensure consistent dipping. If the mixture sticks to your hands, a light coating of cooking spray can do the trick.
4. Mastering the Art of Dipping:
Melt your candy coating until it’s silky smooth. Use a toothpick or a special dipping tool to get that flawless Starbucks look without lumps or bumps.
5. Decorating Like a Pro:
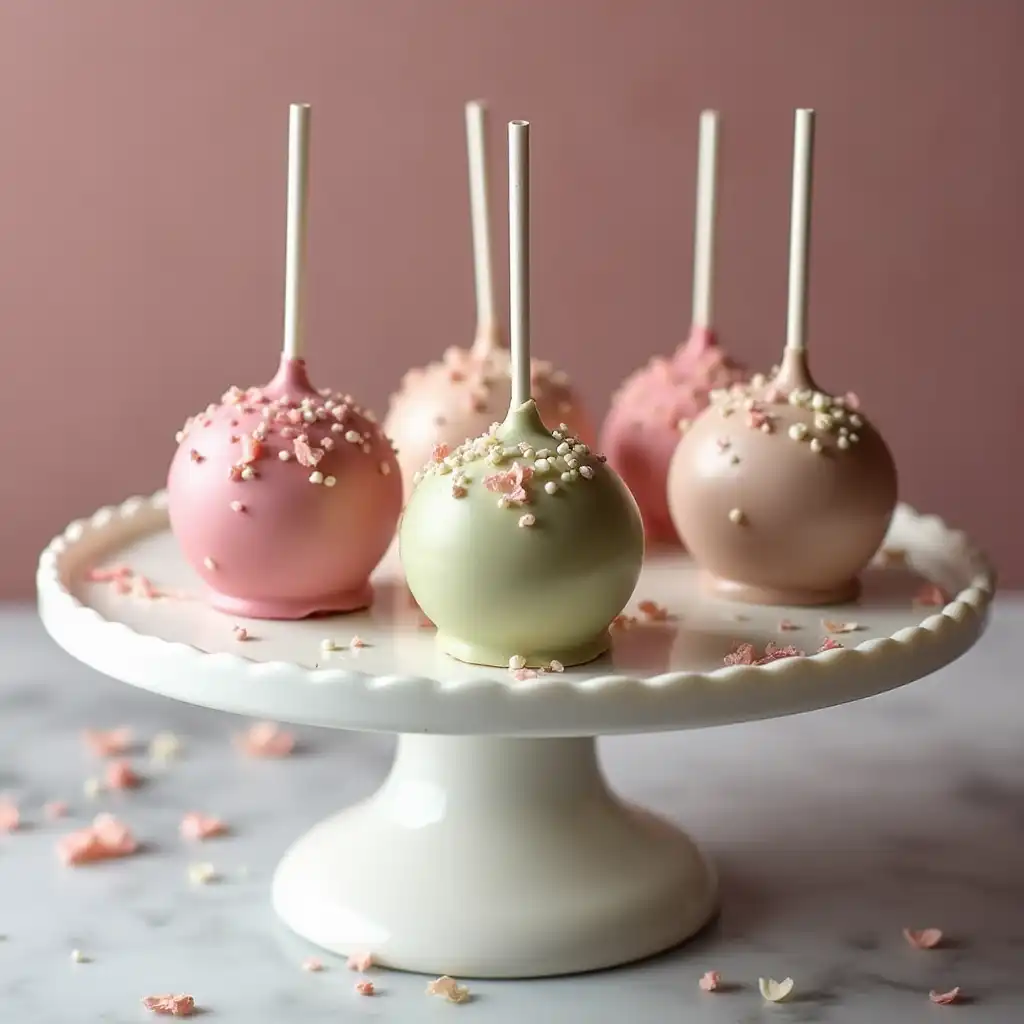
Add sprinkles or swirls immediately after dipping while the coating is still tacky, replicating the iconic Starbucks look. Experiment with colors and styles!
6. Setting Your Cake Pops:
After decorating, give your pops a place to set without touching each other. Styrofoam blocks or a cardboard box with holes are perfect for this task.
Step-by-Step Instructions:
- Bake the Cake: Follow the instructions on your cake mix, aiming for a slightly denser cake, more suited for shaping later on.
- Crumble and Mix: Crumble your cooled cake into a large bowl and fold in the frosting until you achieve a dough-like consistency.
- Roll and Shape: Take small portions of your mixture and roll them into smooth, even balls. Place them on a lined baking sheet.
- Chill: Chill the shaped balls in the fridge for at least an hour, ensuring they are firm before dipping.
- Dip and Decorate: Dip the chilled cake balls into the melted candy coating, then quickly decorate them before the coating sets.
- Set and Serve: Stick the decorated cake pops into your setting stand and allow them to harden completely before you amaze everyone with your creation!
Conclusion:
Creating Starbucks cake pops at home is a sweet journey filled with personalization and joy. Dabble in various flavors, customize your decorations, and most importantly, have fun! If you’ve followed these steps, I’d love to see your amazing creations. Share your experience and results below in the comments.
For more delectable recipes and baking tips, don’t forget to subscribe! And when you showcase your stunning homemade cake pops on social media, use our special hashtag to join the community of home bakers sharing their successes. Happy baking!